
Make it an Annual Event and Build a Collection
A brand-new year has started and it’s the perfect time to start planning this years family yearbook. You don’t want to go through twelve months and realize that your family doesn’t have enough pictures to fill out a yearbook. If you want to treasure a year’s worth of memories with a family yearbook, you will need to follow these three simple steps.
Step One: Think of The Photos You Will Want to Add In
This is a family project that will take twelve months to organize. But when it all comes together it will be worth it. Start by getting organized. It can be a daunting task to organize and create a yearbook. However, it will be much easier if you follow these simple steps. Firstly, set up monthly folders on your desktop or tablet to upload your best photos from each month. It always a good idea to backup your best photo since we can all loose our camera phones. Be aware of occasions where you will always want to have a high-quality camera available. Secondly, make a note on your calendar so that you will remember to commemorate the date with a good photo. Lastly, don’t forget to include some candid day in the life shots, not every photo has to be posed or staged.
Not sure what days to mark on your calendar? Here is a brief list of special occasions to commemorate with pictures for your family yearbook:
- Holidays like Christmas, Easter and Halloween
- Set family vacations, road trips and journeys away from home
- Significant educational milestones and school events like plays, performances, speeches, dances and graduations
- Special events like weddings, engagement parties, birthdays and baby showers
Above all, get creative! For instance, add some props like signs or banners to your photos. As an example, these are great crafts to create as a family for Mother’s or Father’s Day.
Step Two: Know How You Can Make the Family Yearbook
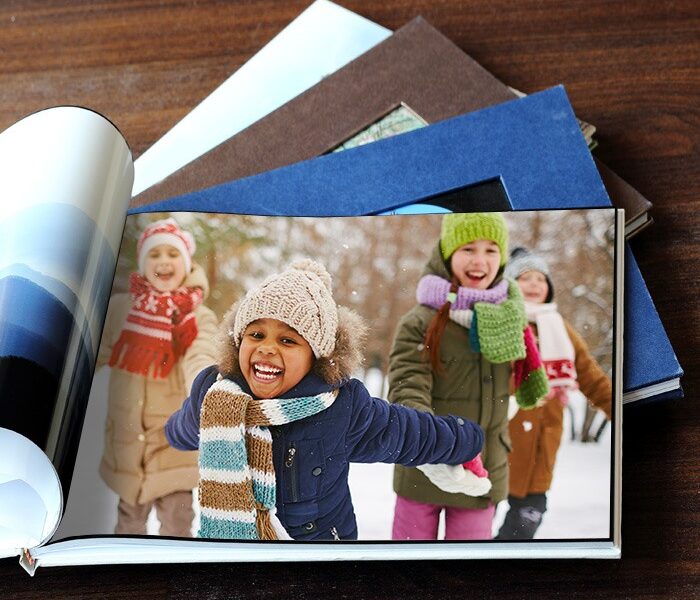
You don’t have to spend hours working with a glue-stick and a mountain of printed photos. Instead, you can use a convenient website like photoroost to create your family yearbook. This website’s user-friendly software will help you make a one year family yearbook . It will look as polished, stylish and colourful as a published coffee-table book. All you have to do is upload your digital photo files onto the website and arrange them in customizable templates. You can organize the photos by month, by milestone or by theme using different headers, backgrounds and designs. You can chose a soft or hard cover book starting at 20 pages for under $15. When you’re done creating your photo book, a sleek printed and bound family yearbook will be shipped to your home. Above all, don’t forget to order multiple copies for all the members of your family.
Step Three: Plan For Finishing Touches
Treat the family yearbook like any other yearbook that you have received. Add your signature along with a personal message inside. Get every member of the family to sign a copy of the book, even the kids. For kids that are too young to write their own name, you can always have them sign with a handprint, thumbprint or drawing. You can also ask anyone who makes a major appearance in your photos to sign the book during their visits such as grandparents, uncles, aunts, cousins and friends.
In conclusion, it may be just the beginning of a new year, however that doesn’t mean it’s too early to start planning your next family yearbook. With a little bit of planning and the help of photoroost, you can capture every important family moment of the year and display it forever.